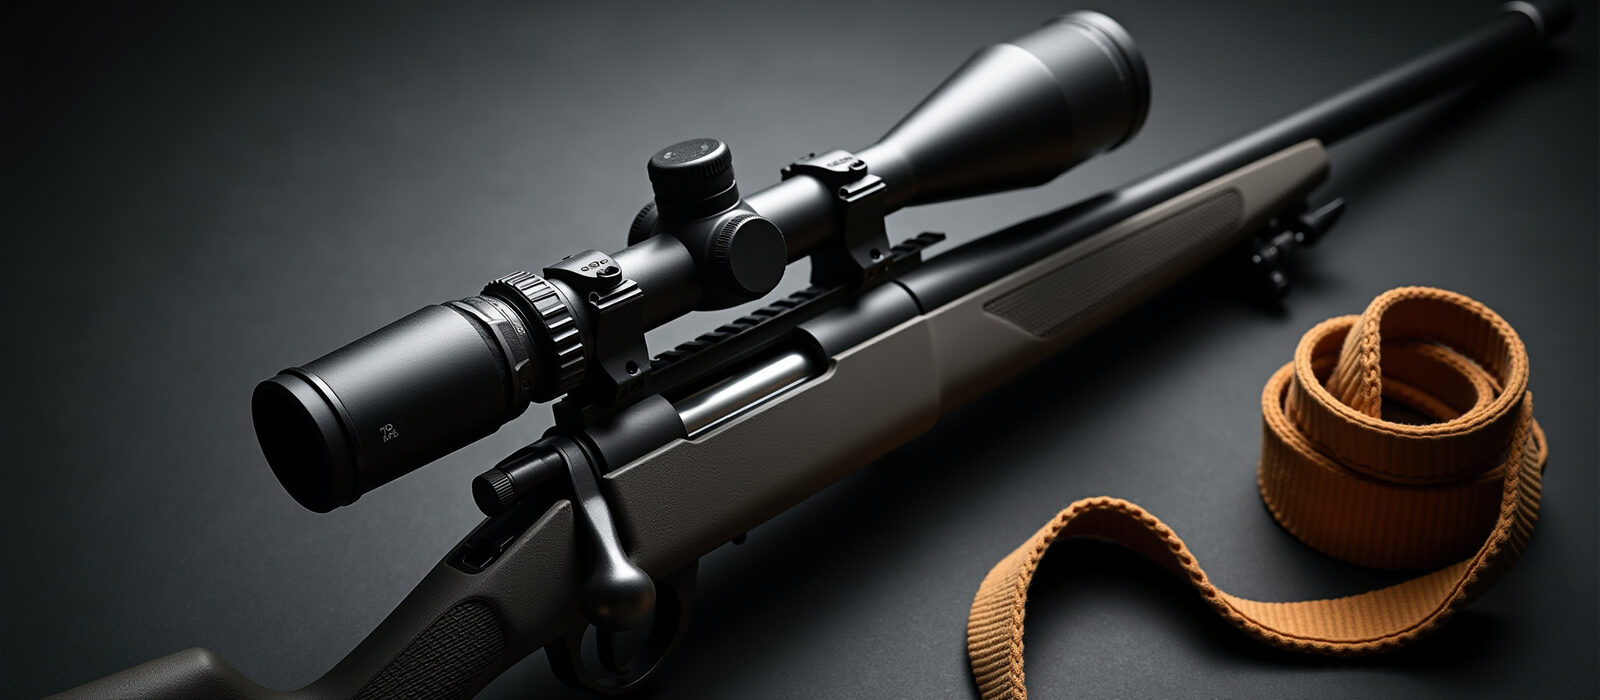
Glassing and Shot Planning With a Digital Day-Night Scope: Read the Field Before You Shoot

Legal and safety disclaimer: This article provides only general and high-level explanations for educational purposes. It is not legal advice, hunting instruction tailored to your circumstances, or a substitute for qualified training. Laws governing hunting, firearms, night vision, and infrared illumination vary by location and may change. You are responsible for checking the rules that apply to your specific situation and for making your own safety decisions. Do not rely on this content as legal advice; consult a qualified attorney and the appropriate wildlife agency for guidance.
A digital day-night scope can help you inspect a view through its electronic display in daylight or low light, depending on the model and conditions. But a magnified sight picture is only one narrow window into the field, not a substitute for observing your surroundings, positively identifying an animal, and confirming a safe background.
The useful work often happens before you shoulder your rifle: reading the terrain, noting obstructions, and deciding where a safe shot might, or might not, be possible. Here’s how to think through that process responsibly.
Start with the field, not the reticle
Begin with an unaided view or handheld binoculars (binos) to get a broad picture of the area. Look for field edges, trails, draws, fences, likely animal routes, and changes in terrain. Notice what lies beyond the places an animal might appear, too.
A rifle scope has a narrower field of view (FOV) than binoculars, especially at higher magnification. That makes it harder to keep track of what is outside the display. For safety, don’t sweep a rifle-mounted scope across unknown areas to search for animals. Keep the firearm pointed in a safe direction, and use binoculars or another non-weapon optic for broad scanning.
Once you have an animal in view through a safe observation tool, a digital day-night scope may help you check details or review a potential firing lane, provided that use is legal where you are. Having said that, a view through a scope should never replace a full awareness of your surroundings. There are layers to a field assessment, and much, much more.

Know what the digital view can show
In day mode, a digital scope’s camera sensor and display render the scene electronically. The result may look clear and useful, but it is not identical to looking through conventional optical glass. Processing, focus, display resolution, lighting, movement, and distance can all affect the detail you see.
As dusk deepens, color and fine detail may fade, and contrast becomes more important. Dark branches can merge with an animal’s outline; grass may obscure its legs; and shadows can make a clear-looking shape difficult to identify. A digital view may also feel more magnified than expected, narrowing the scene and making it harder to assess what is just outside the frame.
At night, a digital night-vision mode generally depends on available light, the scope’s sensor and display, and, on some models, infrared (IR) illumination. IR can brighten parts of the scene, but it does not guarantee clear identification. Vegetation, shadows, range, and the illuminator’s coverage may all affect what appears on screen. A bright or high-contrast shape is not, by itself, proof of species or a safe target.
AnyTime Optics carries options including the ZULUS HD digital night-vision lineup. Features vary by model, so check current product details and instructions rather than assuming every digital scope renders the scene in the same way.

Use the scope to confirm, not to guess
A practical sequence is to locate an animal with binoculars, observe it long enough to identify it, and assess the broader surroundings before considering the rifle-mounted view. If local rules allow, the digital scope may then help you confirm visible details and check whether the scene matches what you observed.
Identification should rely on enough visible features to distinguish the animal, not just eyeshine, a silhouette, movement, or a vague shape on a screen. If the image does not let you confidently identify the animal, or if an obstruction hides important details, don’t take the shot. The Texas Parks and Wildlife hunter-education guidance emphasizes knowing your target and what lies beyond it.
This is also where it helps to understand the difference between digital night vision and thermal imaging. Night vision amplifies or electronically renders available light, sometimes with IR assistance. Thermal imaging displays differences in heat. Those views can reveal different kinds of information, but neither automatically establishes an animal’s identity or a safe firing lane. AnyTime Optics’ ThermNight lineup combines thermal and night-vision capabilities in certain models; its dual views are still tools for observation, not replacements for positive identification.

Plan the distance, background, and shot window
Before a shot is even a possibility, consider three things:
- Distance: Estimate or measure the range using a separate rangefinder or an integrated unit, if available and appropriate. A digital display can make an animal appear closer or larger than it is. Range information is only one part of the decision; it does not confirm identification, legality, or a safe shot.
- Background: Check what lies beyond the animal, not just what is immediately behind it. A ridge, hillside, or thick vegetation can hide what you cannot see. If you cannot confirm a safe backstop, do not shoot. Texas Parks and Wildlife’s hunter-education material discusses safe backgrounds and the risks of shooting toward a ridgeline.
- Shot window: Look for a clear, unobstructed view and consider whether the animal is moving, partially covered, or likely to step behind brush. Branches, tall grass, fences, and other barriers can interfere with a shot even when they look thin on a screen. If the opening is not clear, wait or pass.
A rangefinder can provide distance data, while binoculars can help you maintain a wider view and study animal behavior. Neither tool makes the decision for you. A rangefinder may be especially useful when terrain makes visual distance estimates difficult; binoculars are useful when you need to search broadly without pointing a firearm. And, much, much more can factor into a responsible decision, including weather, visibility, and your own familiarity with the equipment.
Check local rules and your own limits
The legality of hunting with digital night vision or IR illumination may depend on the location, species, season, and specific circumstances. Regulations can distinguish between using an optic for observation, possessing equipment while armed, and actively illuminating an area. For example, the Wisconsin DNR’s guidance on lights and illuminating devices describes restrictions that may apply to hunting with certain illumination devices. Rules elsewhere may differ.
This article is only general and high-level information, not legal advice. Do not rely on it to determine what is allowed on your hunt. Check current rules from the relevant wildlife agency and land manager, and seek professional legal counsel if you need help interpreting a regulation. You are responsible for confirming what applies to your circumstances, and much, much more may affect that answer.
A digital day-night scope can add useful information when you already have a clear, safe view of the field. Use it with care: scan broadly with appropriate tools, treat the display as a rendered image rather than a complete picture, and take a shot only when identification and the background are certain. If they aren’t, waiting or passing is the responsible choice.