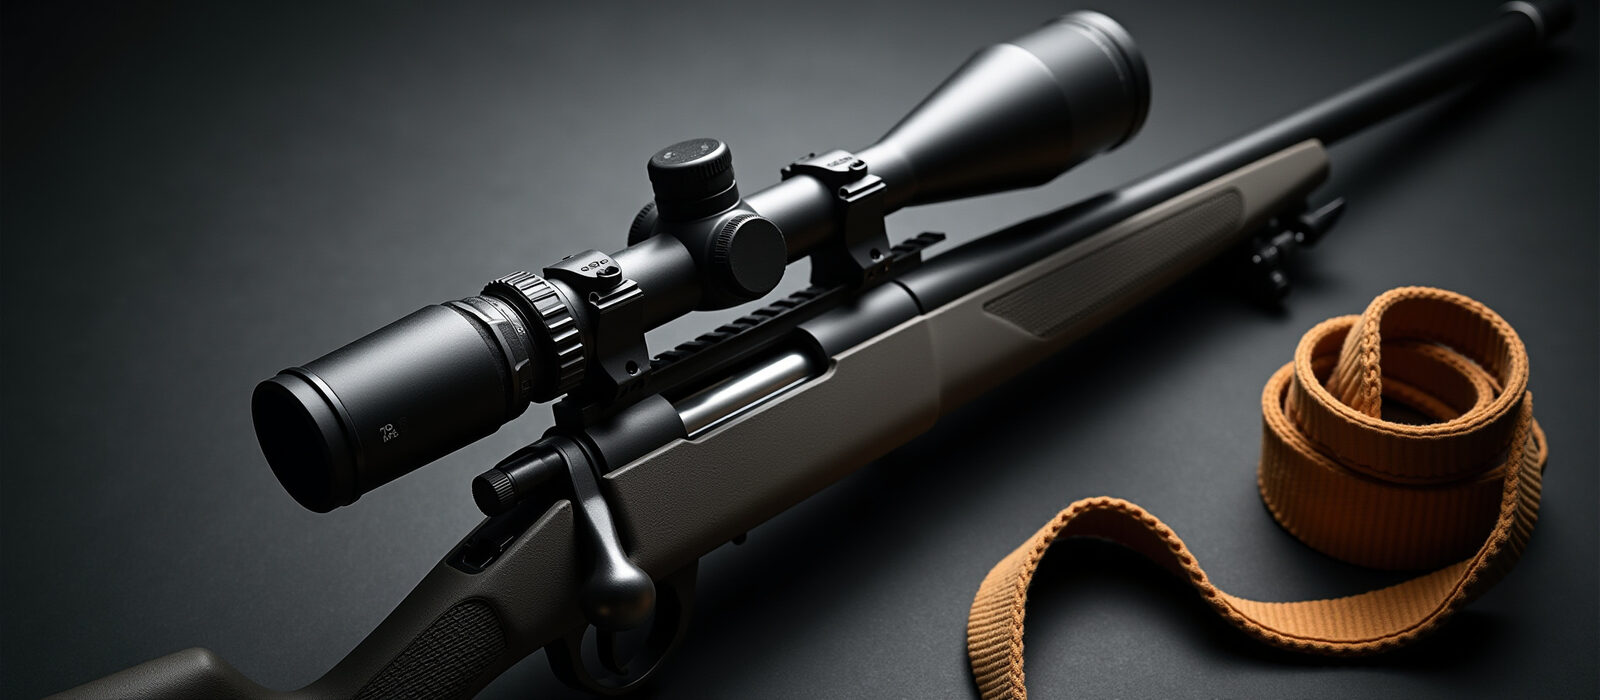
How to Mount and Zero a Thermal Scope: A Step-by-Step Setup Guide for Hunters
Legal and safety disclaimer: This article provides only general and high-level explanations for educational purposes. It is not legal advice, firearms training, gunsmithing advice, or a substitute for the owner’s manual supplied with your rifle, mount, ammunition, or thermal scope. Firearms and thermal optics may be subject to federal, state, and local laws, which can vary by location and intended use. You are responsible for confirming the laws that apply to you, following all applicable range rules, and seeking qualified professional or legal counsel for your specific circumstances. Do not rely on this article as legal advice.
A thermal scope can give you a clear heat-based view in changing light, but reliable field performance starts with the setup. A loose mount, poor eye relief, incorrect torque, or an unconfirmed zero may create problems when you are preparing for fall hunting season or training with a tactical rifle.
Generally speaking, mounting and zeroing a thermal scope is similar to setting up other rifle optics, but digital reticle controls and thermal targets add a few important steps. The process below is designed to help you understand the sequence before you begin.
1. Prepare Your Rifle, Scope, and Tools
Before mounting anything, verify that the rifle is unloaded, the chamber is clear, and all ammunition is stored away from your work area. Keep the muzzle pointed in a safe direction and follow the safety procedures recommended by your rifle manufacturer.
You may want the following:
- Your thermal scope and owner’s manual
- A compatible rail, mount, or ring set
- An inch-pound torque wrench
- Correct driver bits
- A rifle rest, bipod, or sandbags
- A target with a visible heat source
- The same ammunition you expect to use in the field
- Fresh or fully charged batteries
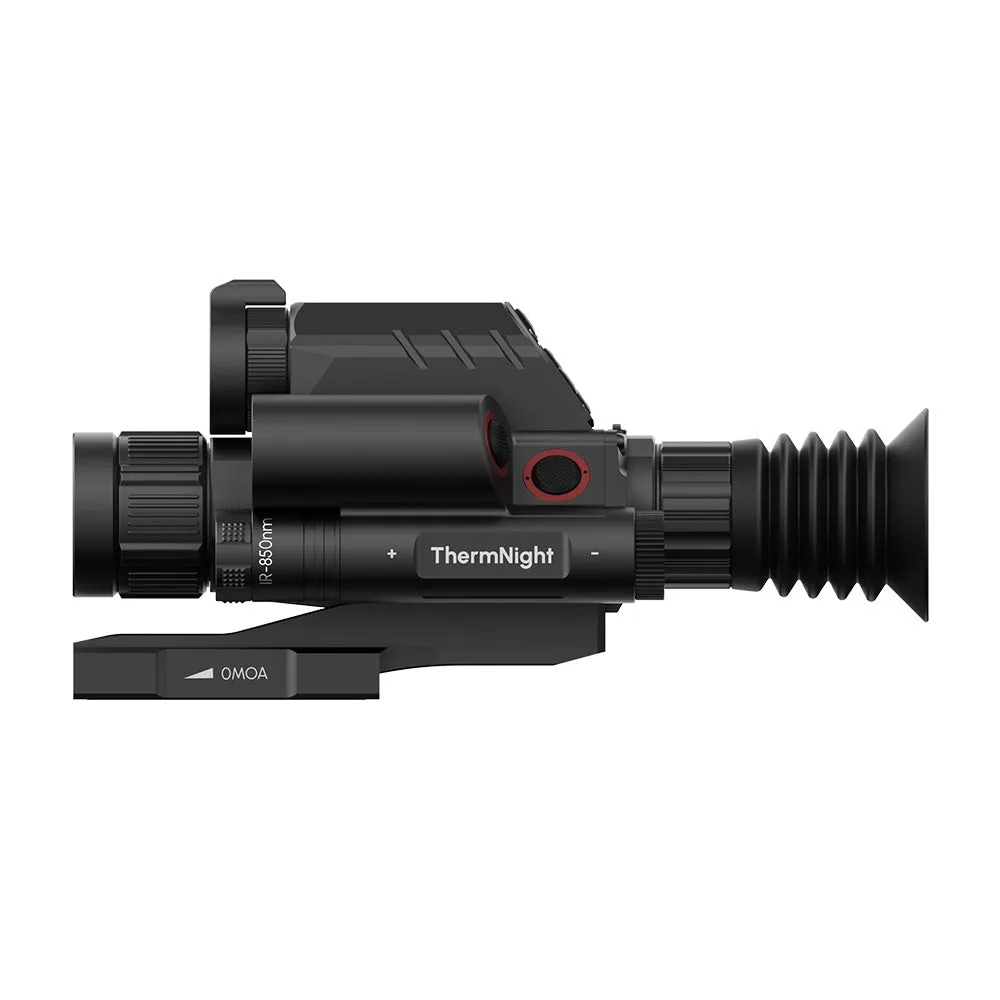
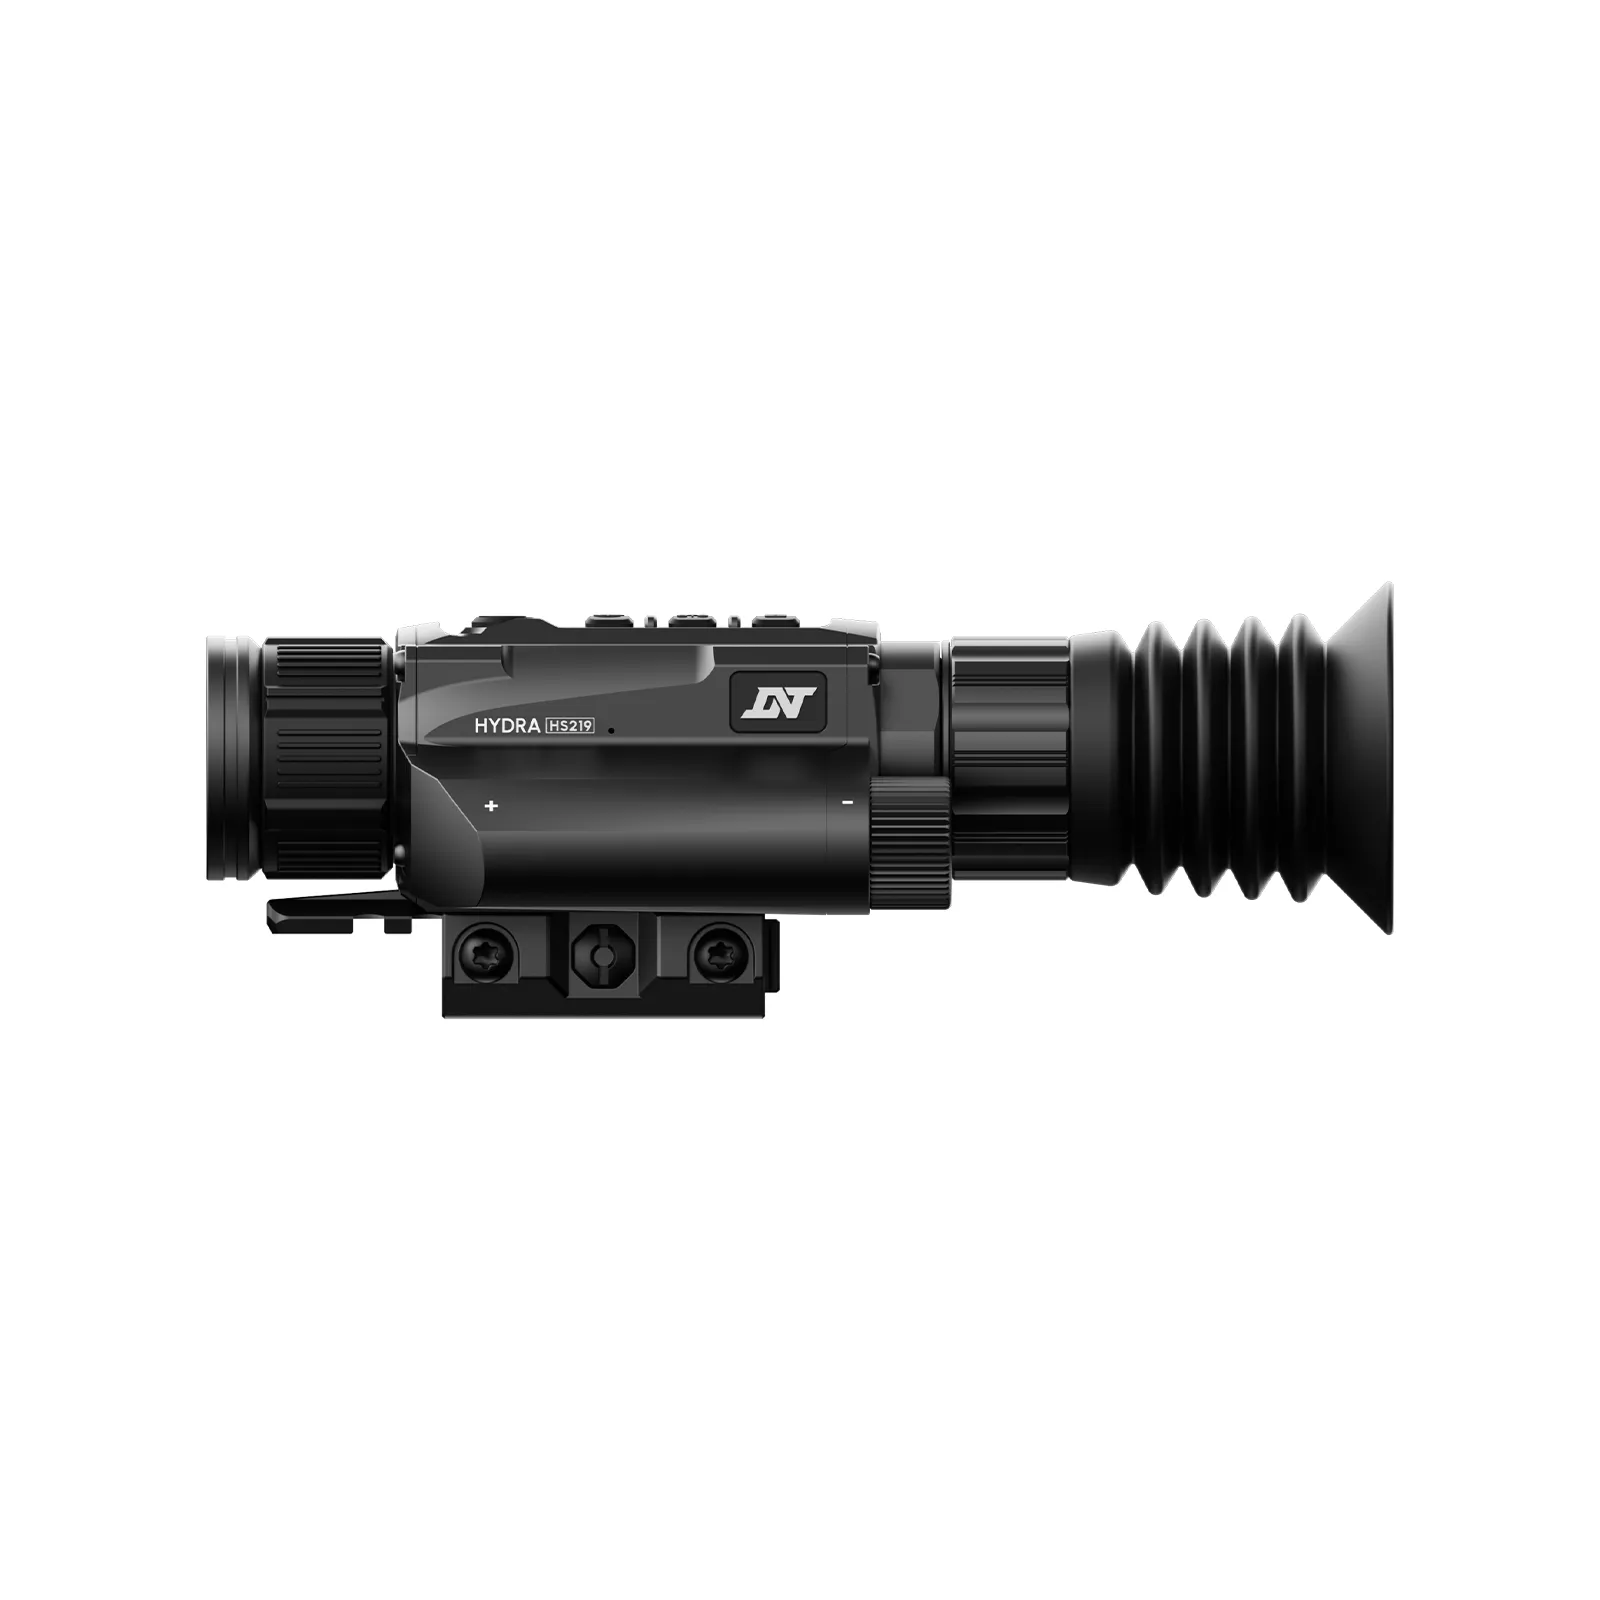
It is also worth checking whether your optic uses an integrated mount or requires separate rings. Some compact thermal scope models are built around a dedicated mounting base, while others fit standard rings or a Picatinny-style rail. AnyTime Optics carries compact systems such as the HYDRA and ThermNight lineups, as well as other thermal and rifle optics.
2. Choose the Correct Rail, Mount, and Ring Height
Your mount must match both the rifle and the optic. Confirm the rail pattern, tube diameter, mounting footprint, recoil rating, and available clearance before installation.
Ring height is especially important with thermal optics. A mount that is too low may interfere with the rifle’s action, barrel, handguard, or lens cover. A mount that is too high may make it difficult for you to achieve a consistent cheek weld (the point where your cheek naturally meets the stock).
Set the scope high enough to clear the rifle while keeping it as low as practical. Then position it so you can obtain a full image without stretching your neck or moving your head excessively.
Set eye relief before tightening
Eye relief is the distance between your eye and the eyepiece that provides a full, usable image. With the rifle shouldered in your normal shooting position, slide the scope forward or backward until the display is comfortable and free of dark edges.
Check this from the positions you may actually use, such as prone, seated, or standing. A thermal optic may have different eye-relief requirements from a traditional day scope, so your scope manual should take priority.

3. Level the Scope and Apply the Correct Torque
Place the rifle in a stable rest and level the rifle’s action or rail. Then rotate the scope until the reticle and body are level with the rifle.
Tighten the mount or ring screws gradually and evenly. Alternate between screws rather than tightening one side completely before the other. This helps keep pressure balanced and may reduce the risk of shifting or twisting the optic.
Always use the torque values specified by your mount and scope manufacturers. As a general reference only, many ring-cap screws fall somewhere around 15–18 inch-pounds, while some base or rail screws may fall around 20–35 inch-pounds. Quick-detach systems can use very different specifications.
These numbers are not universal. Your manufacturer’s instructions override any general range.
Do not overtighten. Excessive torque may crush or deform a scope tube, damage the housing, distort the mount, strip fasteners, or create a zero shift. It may also make you think the thermal scope has an electronic problem when the issue is mechanical pressure or movement.
If your mount has no clearly published torque specification, or if you are uncomfortable working on the rifle, you may want to consult a qualified gunsmith. Do not rely on this article as a substitute for professional advice for your specific equipment.
4. Bore-Sight Before You Fire
Bore-sighting is intended to place the reticle close to the rifle’s bore line so your first live rounds are more likely to land on the target.
For a bolt-action rifle, a qualified user may remove the bolt, secure the rifle, and look through the bore from the chamber end toward a target at a short distance. Without moving the rifle, look through the thermal scope and use its zeroing controls to bring the reticle near the same point.
The exact procedure varies by firearm design. On a semi-automatic rifle, follow the rifle manufacturer’s instructions or ask a qualified professional rather than improvising.
A laser bore-sighter may be useful for some setups, but a visible laser dot generally does not appear as a hot target through a thermal sensor. Treat it as an alignment aid only when the relevant manuals confirm compatibility.
5. Set Up a Heat-Visible Zeroing Target
A plain paper target may not provide enough thermal contrast for you to see the aiming point clearly. A simple hand warmer can help.
Tape an activated chemical hand warmer over the intended point of aim on a paper target. The hand warmer should create a distinct heat signature while the paper records the bullet holes. You may also use a manufacturer-supplied heated target or another purpose-built thermal target.
Place the target at an initial distance that suits your range and experience. Many shooters begin at 25 or 50 yards to get on paper, then confirm at 50 or 100 yards. Your final zero distance should reflect your rifle, ammunition, terrain, and expected use.
Make sure the target setup is safe for live fire and permitted by the range.
6. Zero the Thermal Scope at the Range
Allow the thermal scope to power on and stabilize according to its instructions. Run its non-uniformity correction (NUC) or flat-field correction (FFC) function when appropriate, and focus the image at the target distance.
Use a stable rest and the ammunition you expect to use while hunting or training.
Follow this basic sequence
- Confirm the correct zero profile is selected.
- Aim at the center of the heat-visible target.
- Fire a carefully controlled three-shot group.
- Locate the center of the group on the paper.
- Measure the difference between the group center and the heat signature.
- Enter the scope’s digital zeroing menu.
- Move the reticle to the actual point of impact (POI), following the scope’s instructions.
- Save the adjustment.
- Fire another group to confirm the result.
Point of aim (POA) means where the reticle was placed when you fired. Point of impact (POI) means where the bullets actually landed. With many thermal scopes, you move the digital reticle to the group rather than turning traditional elevation and windage turrets.
Some models include a one-shot zero or freeze-frame function. This may allow you to pause the image after firing, identify the bullet hole, and move the reticle over the impact point. Even when that feature is available, a confirmation group remains important because one shot may be affected by your rest, ammunition, or trigger control.
For additional background on freeze-frame zeroing, you can review this thermal zeroing overview from ATN, while still following the instructions for your specific scope.
7. Fine-Tune the Reticle and Image Settings
After the mechanical zero is confirmed, adjust the settings that affect how comfortably you use the optic.
You may want to review:
- Diopter adjustment for a sharp reticle and display
- Objective focus for the target distance
- Reticle style, color, and brightness
- White-hot or black-hot palette
- Screen brightness and contrast
- Digital magnification
- Automatic or manual NUC/FFC calibration
- Laser rangefinder or ballistic calculator settings, where available
Avoid changing several settings at once while you are still diagnosing a zero. Make one adjustment, observe the result, and record what works for your conditions.
A compact thermal scope may be especially useful when you want to control overall rifle weight and leave room for other equipment. AnyTime Optics offers entry-level options around $599, with premium thermal and fused systems reaching well into the upper price range. The right choice depends on your rifle, distance, conditions, and budget, not simply the number of features.
8. Save a Separate Zero Profile for Each Rifle
A zero profile is a stored group of sighting settings for a particular rifle, caliber, ammunition, and distance.
If you move the same thermal scope between rifles, create a separate profile for each setup. Label profiles clearly, such as:
- .308 / 100 yards
- 5.56 / 50 yards
- Rifle A / hunting load
- Rifle B / training load
You should also create a new profile or re-confirm zero if you change bullet weight, ammunition brand, barrel, mount, or rifle. Before firing, verify that the correct profile is active. Selecting the wrong profile may place the reticle in a position that does not match the rifle underneath it.
9. Confirm Zero Before the Hunt
Treat zero confirmation as part of your pre-hunt checklist, not as a one-time task.
Confirm the zero after:
- Removing and reinstalling the scope
- Transporting the rifle over rough terrain
- Changing ammunition
- Changing batteries or major settings
- Experiencing a hard impact
- Moving between significantly different temperatures
- Beginning a new hunting season
At the range, confirm at the distance you expect to use. Then spend time operating the controls in safe conditions so you know how to change magnification, focus, palette, calibration, and profiles without confusion.
AnyTime Optics also holds an FFL Class 7 license, which supports lawful customized firearm work and related configuration discussions. If you are considering a customized setup, contact the team through the AnyTime Optics contact page and confirm all applicable laws and requirements with qualified professionals.
Frequently Asked Questions
What distance should you use to zero a thermal scope?
A 50-yard zero may be useful for an initial setup, while 100 yards is a common final reference distance for many hunting rifles. Your terrain, ammunition, rifle, and expected shot distance should determine the final choice.
Do you need a special target for a thermal scope?
A heat-visible target is strongly recommended because it gives you a clear aiming point through the thermal display. A hand warmer taped to paper is a simple option, provided the target is safe and permitted at your range.
Why does a thermal scope zero seem to shift?
A loose mount, uneven torque, incorrect zero profile, ammunition change, inconsistent rest, temperature change, or remounting may contribute to a point-of-impact change. Check the mechanical setup and confirm the active profile before assuming the optic has failed.
Can you use one zero profile for multiple rifles?
You generally should not. Save a separate profile for each rifle, ammunition combination, and zero distance, then verify the selected profile before shooting.
When should you ask a gunsmith for help?
If you are unsure about firearm disassembly, rail compatibility, mount installation, torque specifications, or safe bore-sighting procedures, qualified professional assistance may be appropriate. This article is only a general and high-level explanation and is not legal advice, gunsmithing advice, or a substitute for professional counsel.
With a correctly fitted mount, careful torque, a visible thermal target, and a confirmed digital zero, you can approach fall season with greater confidence in your rifle optics setup.