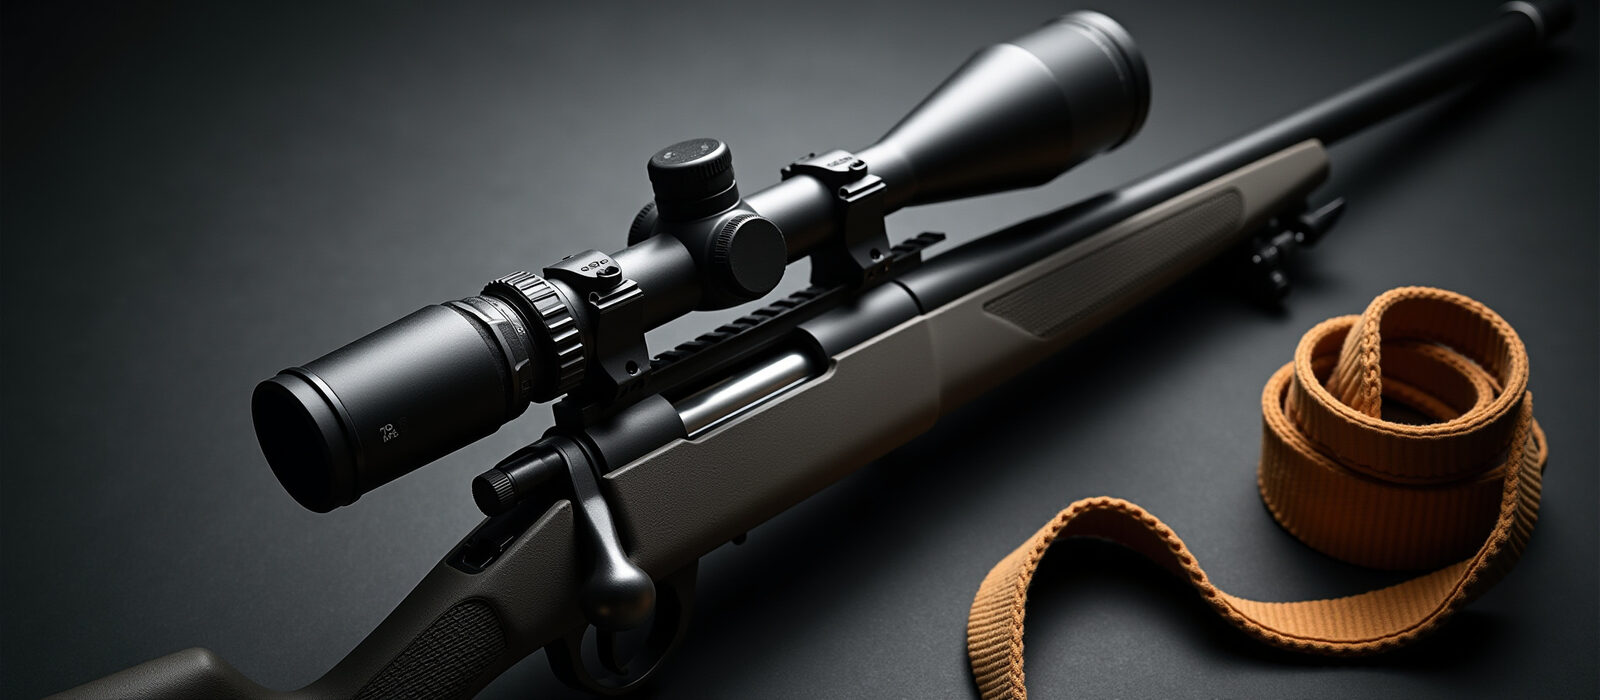
Laser Rangefinder Scope Guide: How to Range Targets and Shoot Smarter in Open Country

LEGAL DISCLAIMER: IMPORTANT NOTICE
This article provides only general and high-level explanations regarding laser rangefinder scopes, thermal scopes, night vision scopes, hunting optics, ballistic calculators, and related firearm equipment. It is intended for educational purposes only and should not be relied upon as legal advice, firearms instruction, hunting advice, or professional technical guidance. You should not rely on this content to determine whether a particular optic, laser device, firearm, hunting method, or customized firearm is lawful in your jurisdiction. Laws and regulations may vary by federal, state, county, and local authority and may change over time. You should seek professional legal counsel and consult the relevant wildlife, firearms, and public-safety authorities before making decisions for your specific circumstances. You are responsible for understanding and following all applicable laws, safety rules, manufacturer instructions, and ethical hunting practices.
Mid-October brings shorter days, longer low-light hours, and changing conditions across fields, pastures, clear-cuts, and agricultural land. In that environment, a laser rangefinder scope (LRF scope) can help you understand the distance to a target without lowering your rifle or reaching for a separate handheld unit.
Having said that, an integrated rangefinder is not a shortcut around practice, target identification, a confirmed zero, or safe shot selection. It is a tool that can help you build a more repeatable process, and much, much more.
What an LRF Scope Actually Tells You
A laser rangefinder ('LRF') sends a laser pulse toward the point you select and measures how long the reflected light takes to return. The optic then converts that measurement into a distance reading.
That reading generally tells you the distance from the scope to the surface that returned the laser signal. It does not automatically tell you:
- Whether the laser hit the animal rather than nearby grass or brush
- Whether the displayed distance is line-of-sight distance or angle-compensated distance
- Whether your ammunition profile is entered correctly
- Whether your rifle is still zeroed
- Whether the target is legally or ethically suitable to engage
In open country, the target may be surrounded by short grass, crop stubble, fence posts, or a distant hillside. A laser beam can return from the first suitable surface, the strongest surface, or a background object, depending on the optic and the conditions.
Generally speaking, you should treat the number as one important piece of information rather than a complete firing solution.
How to Get More Repeatable Range Readings
A good ranging habit starts before you press the LRF button. The goal is to make your position, aiming point, and confirmation process as consistent as possible.
1. Stabilize the optic
Use your bipod, pack, tripod, shooting sticks, or another stable support when practical. A small movement can shift the laser from the animal’s body to foreground vegetation or open ground.
A steady rifle also makes it easier to compare multiple readings without changing your viewing angle.
2. Range the central body mass
When the target is clearly identified and a range reading is appropriate, place the ranging point on the dense central body area rather than thin legs, antlers, brush, or open space. Thin or irregular objects may produce inconsistent returns.
If the unit allows repeated scans, compare the target reading with the ground immediately beneath it and with a nearby background object. A major difference may indicate that the beam is landing somewhere other than the intended target.
3. Take more than one reading
One number can look convincing even when it is wrong. Several consistent readings are generally more useful than a single result, particularly at longer distances or when the target is partially obscured.
Having said that, do not assume the longest number is automatically the correct one. Some units may show the farthest return in a scan, while another return may have come from the target itself.
4. Understand angle compensation
On level agricultural land, the difference between line-of-sight distance and equivalent horizontal distance may be small. Across rolling pasture, a ravine, or a clear-cut hillside, the difference may matter more.
If your laser rangefinder scope offers angle compensation, learn whether the displayed number represents direct line-of-sight distance, horizontal equivalent distance, or a value intended for the onboard ballistic calculator. You should use the same distance convention that your ballistic profile expects.
Pairing an LRF With a Ballistic Calculator
Many modern optics combine an LRF with a ballistic calculator ('BC'). After you range a target, the system may use that distance along with your rifle and ammunition data to estimate a hold point, elevation correction, or adjusted aiming position.
Depending on the model, the calculator may use inputs such as:
- Cartridge and projectile information
- Bullet ballistic coefficient ('BC')
- Muzzle velocity
- Zero distance
- Sight height
- Temperature and air pressure
- Elevation
- Shooting angle
- Wind information entered by the user
This can reduce mental math and help you stay on the optic. It does not make the result guaranteed.
A ballistic calculator is only as reliable as its inputs and the range it receives. An incorrect muzzle velocity, an estimated projectile coefficient, the wrong sight height, a changed ammunition lot, a loose mount, or a damaged zero can create a precise-looking but incorrect aimpoint.
For that reason, you should confirm your own dope and zero at known distances with the exact rifle, ammunition, mount, and optic combination you plan to use. Recheck your setup after changing ammunition, remounting the optic, updating software, or adjusting the configuration.
The calculator may assist your process, but responsibility for validating the equipment and deciding whether a shot is safe and appropriate remains with you.
LRF Scope or Separate Handheld Rangefinder?
An integrated LRF scope and a separate handheld rangefinder can both be useful, but they solve slightly different problems.
Advantages of an integrated LRF scope
- You can range while staying behind the optic
- Your cheek weld and sight picture may remain more consistent
- Distance can appear directly in the display
- The LRF may communicate with the ballistic calculator
- You carry one primary sighting unit instead of a scope plus a handheld rangefinder
Advantages of a handheld rangefinder
- One device can be used with multiple rifles
- It may be less expensive than replacing or upgrading a complete optic
- You can range landmarks while scouting or planning a route
- A separate unit may be lighter than adding electronics to the scope
- You retain flexibility if you change rifles or optics
The trade-off is usually cost, weight, battery management, and flexibility across multiple firearms. An integrated system may simplify the moment of use, while a handheld unit may make more sense if you share equipment across several rifles.
Your choice may depend on whether one rifle is dedicated to open-country hunting, whether you already own a capable optic, and how much value you place on in-scope display integration.
Using an LRF at Night and in Cold Weather
Fall and winter hunting can be hard on both electronics and ranging performance. Fog, rain, snow, frost, and wet vegetation may scatter or absorb part of the laser signal.
Dense grass, branches, crop residue, and brush can also create competing returns. If the reading is inconsistent, you may need to range a larger solid object nearby or wait for a clearer return rather than treating an uncertain number as dependable.
Cold weather introduces additional considerations:
- Batteries may lose usable capacity more quickly
- Frost or condensation can reduce lens clarity
- Gloves may make small controls harder to operate
- Wet snow and rain may reduce ranging consistency
- Temperature changes may affect ammunition performance and electronics
You may find it helpful to carry a charged spare battery in a warm interior pocket, protect the objective lens from moisture, and allow equipment to acclimate gradually when moving between heated and cold environments. You should also confirm that your optic is rated and maintained for the conditions in which you intend to use it.
A clear thermal image does not guarantee a valid laser return. Likewise, a successful range reading does not replace positive target identification or a safe backstop.
Thermal, Night Vision, and One-Unit Flexibility
A thermal scope detects differences in infrared energy, while a digital night vision scope generally builds an image from available light and may use infrared illumination when conditions become very dark.
Thermal can be useful for detecting heat contrast during the extended low-light hours of fall and winter. Digital night vision may provide a more familiar scene view and visible-light detail when there is sufficient ambient light or an illuminator is available.
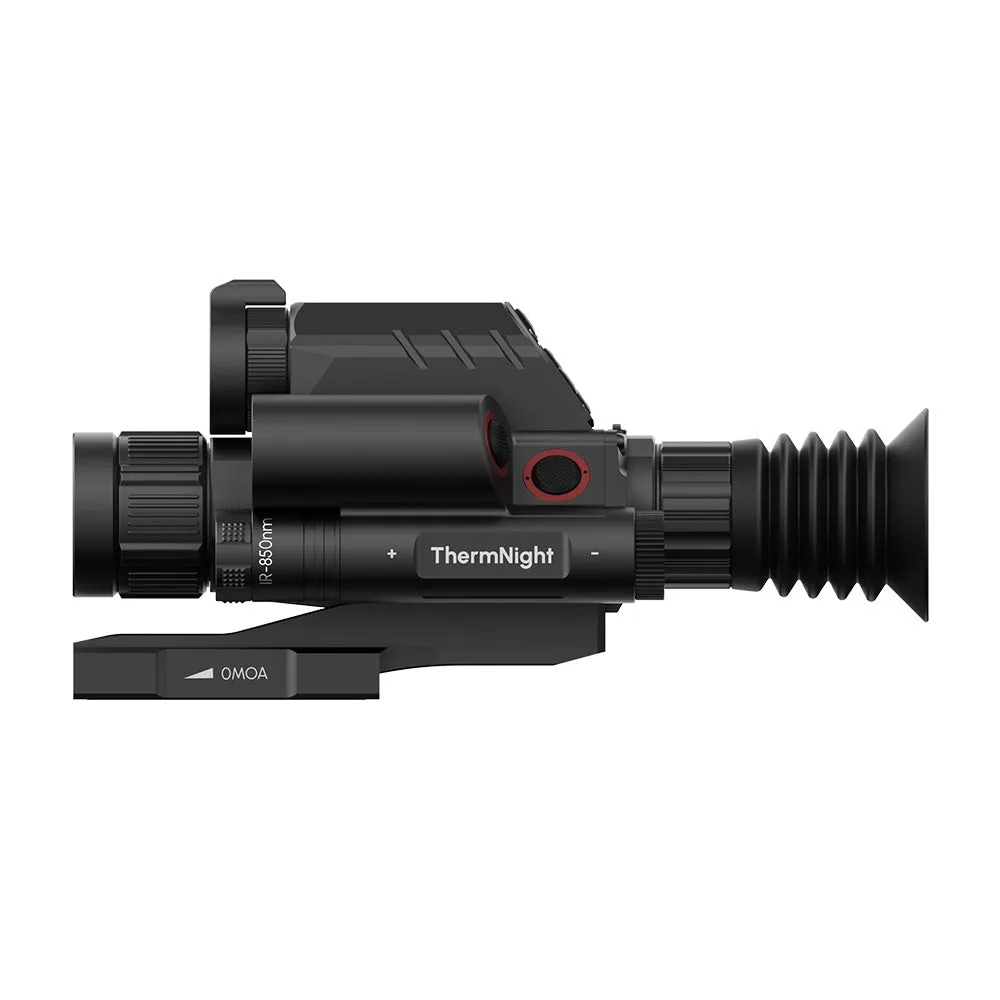
A fused optic combines thermal and night vision functions in one unit. AnyTime Optics’ ThermNight lineup includes selected models with fused thermal and night vision, an integrated LRF, and a ballistic calculator. That combination may allow you to scan with thermal, inspect scene detail with night vision, range without leaving the sight picture, and much, much more.
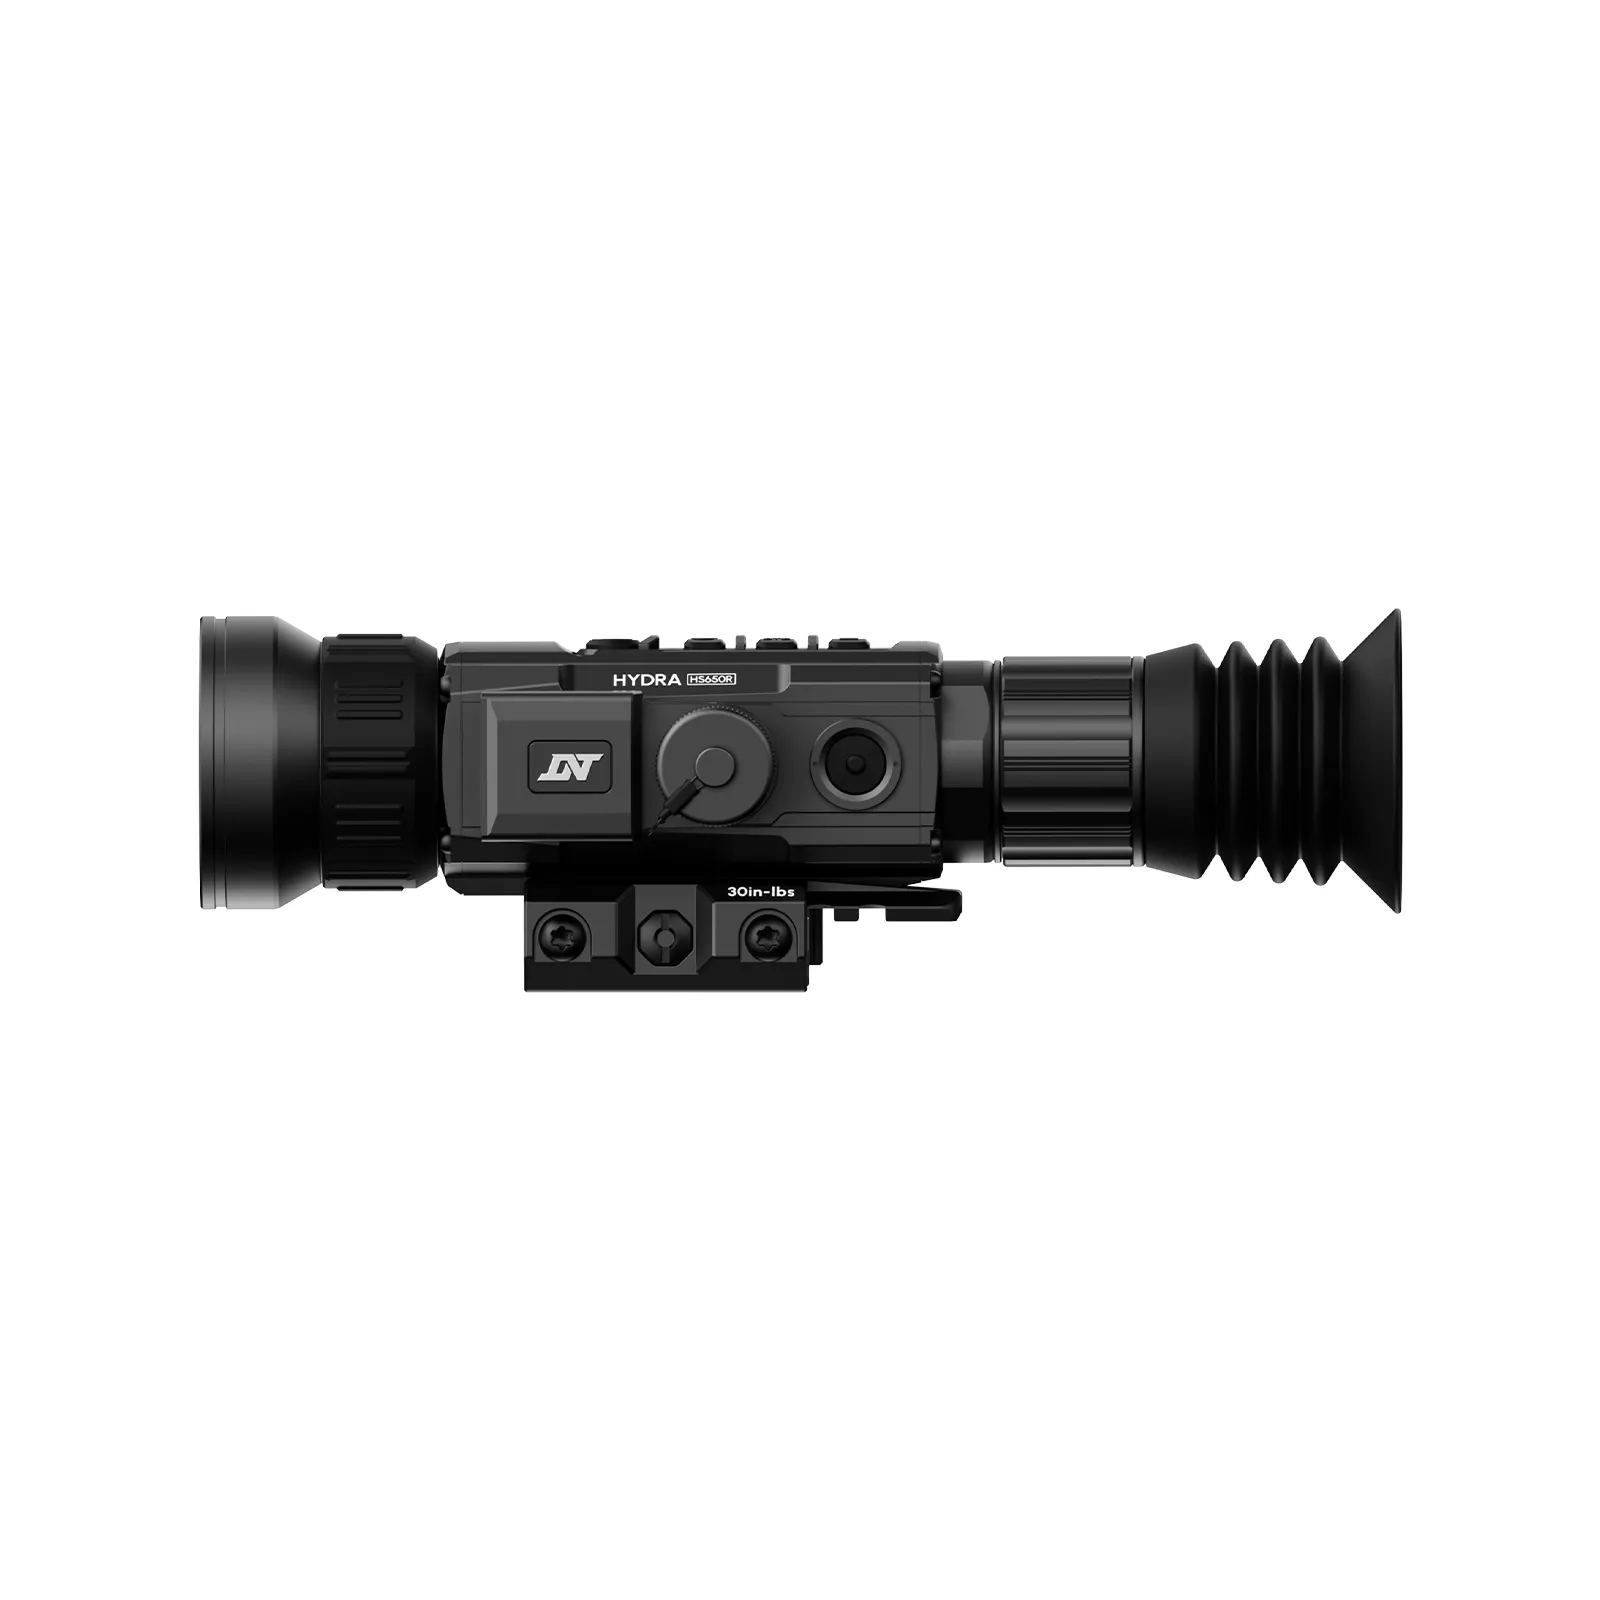
The HYDRA multi-function thermal platform also includes rangefinder-equipped options, such as the HS650R HYDRA-LRF. Depending on the model, the platform can support more than one role, including use as a thermal scope, clip-on, or handheld viewing device.
If you are comparing these technologies in more detail, review our thermal versus night vision guide.
What to Compare Before Buying an LRF Scope
When comparing LRF-equipped hunting optics, look beyond the advertised maximum distance.
Beam divergence
Beam divergence describes how much the laser spreads as distance increases. A wider beam may cover grass, brush, or background terrain instead of the intended target. You should consider how reliably the optic ranges small, dark, or irregular targets, not only large reflective objects.
Practical ranging distance
Manufacturers may publish different distance figures for reflective and non-reflective targets. Your open-country use may involve dark animals, vegetation, uneven ground, and changing weather, so practical performance matters more than a best-case number alone.
Display integration and refresh
Check how clearly the range appears in thermal, night vision, and daytime modes. A fast, readable refresh can help you confirm the reading without distracting clutter.
Ballistic calculator controls
Look for editable profiles, correct ammunition inputs, angle handling, environmental data, and a straightforward way to verify or change settings.
Battery and cold-weather performance
Compare battery type, runtime, replaceability, charging options, and cold-weather handling. An optic that is easy to power and check may be more useful than one with a longer list of features you rarely use.
Mounting and overall size
A compact thermal scope can help keep your rifle manageable, but you should evaluate the complete setup, including the mount, battery, lens, and accessories. Our compact thermal scope guide explains how footprint, sensor choice, controls, and mounting flexibility may affect your decision.
AnyTime Optics carries options across a typical price range of about $599 to $2,843, depending on configuration and current availability. INFITAC compact optics provide additional choices, while a day scope with night vision may be available around $400, subject to current pricing and specifications.
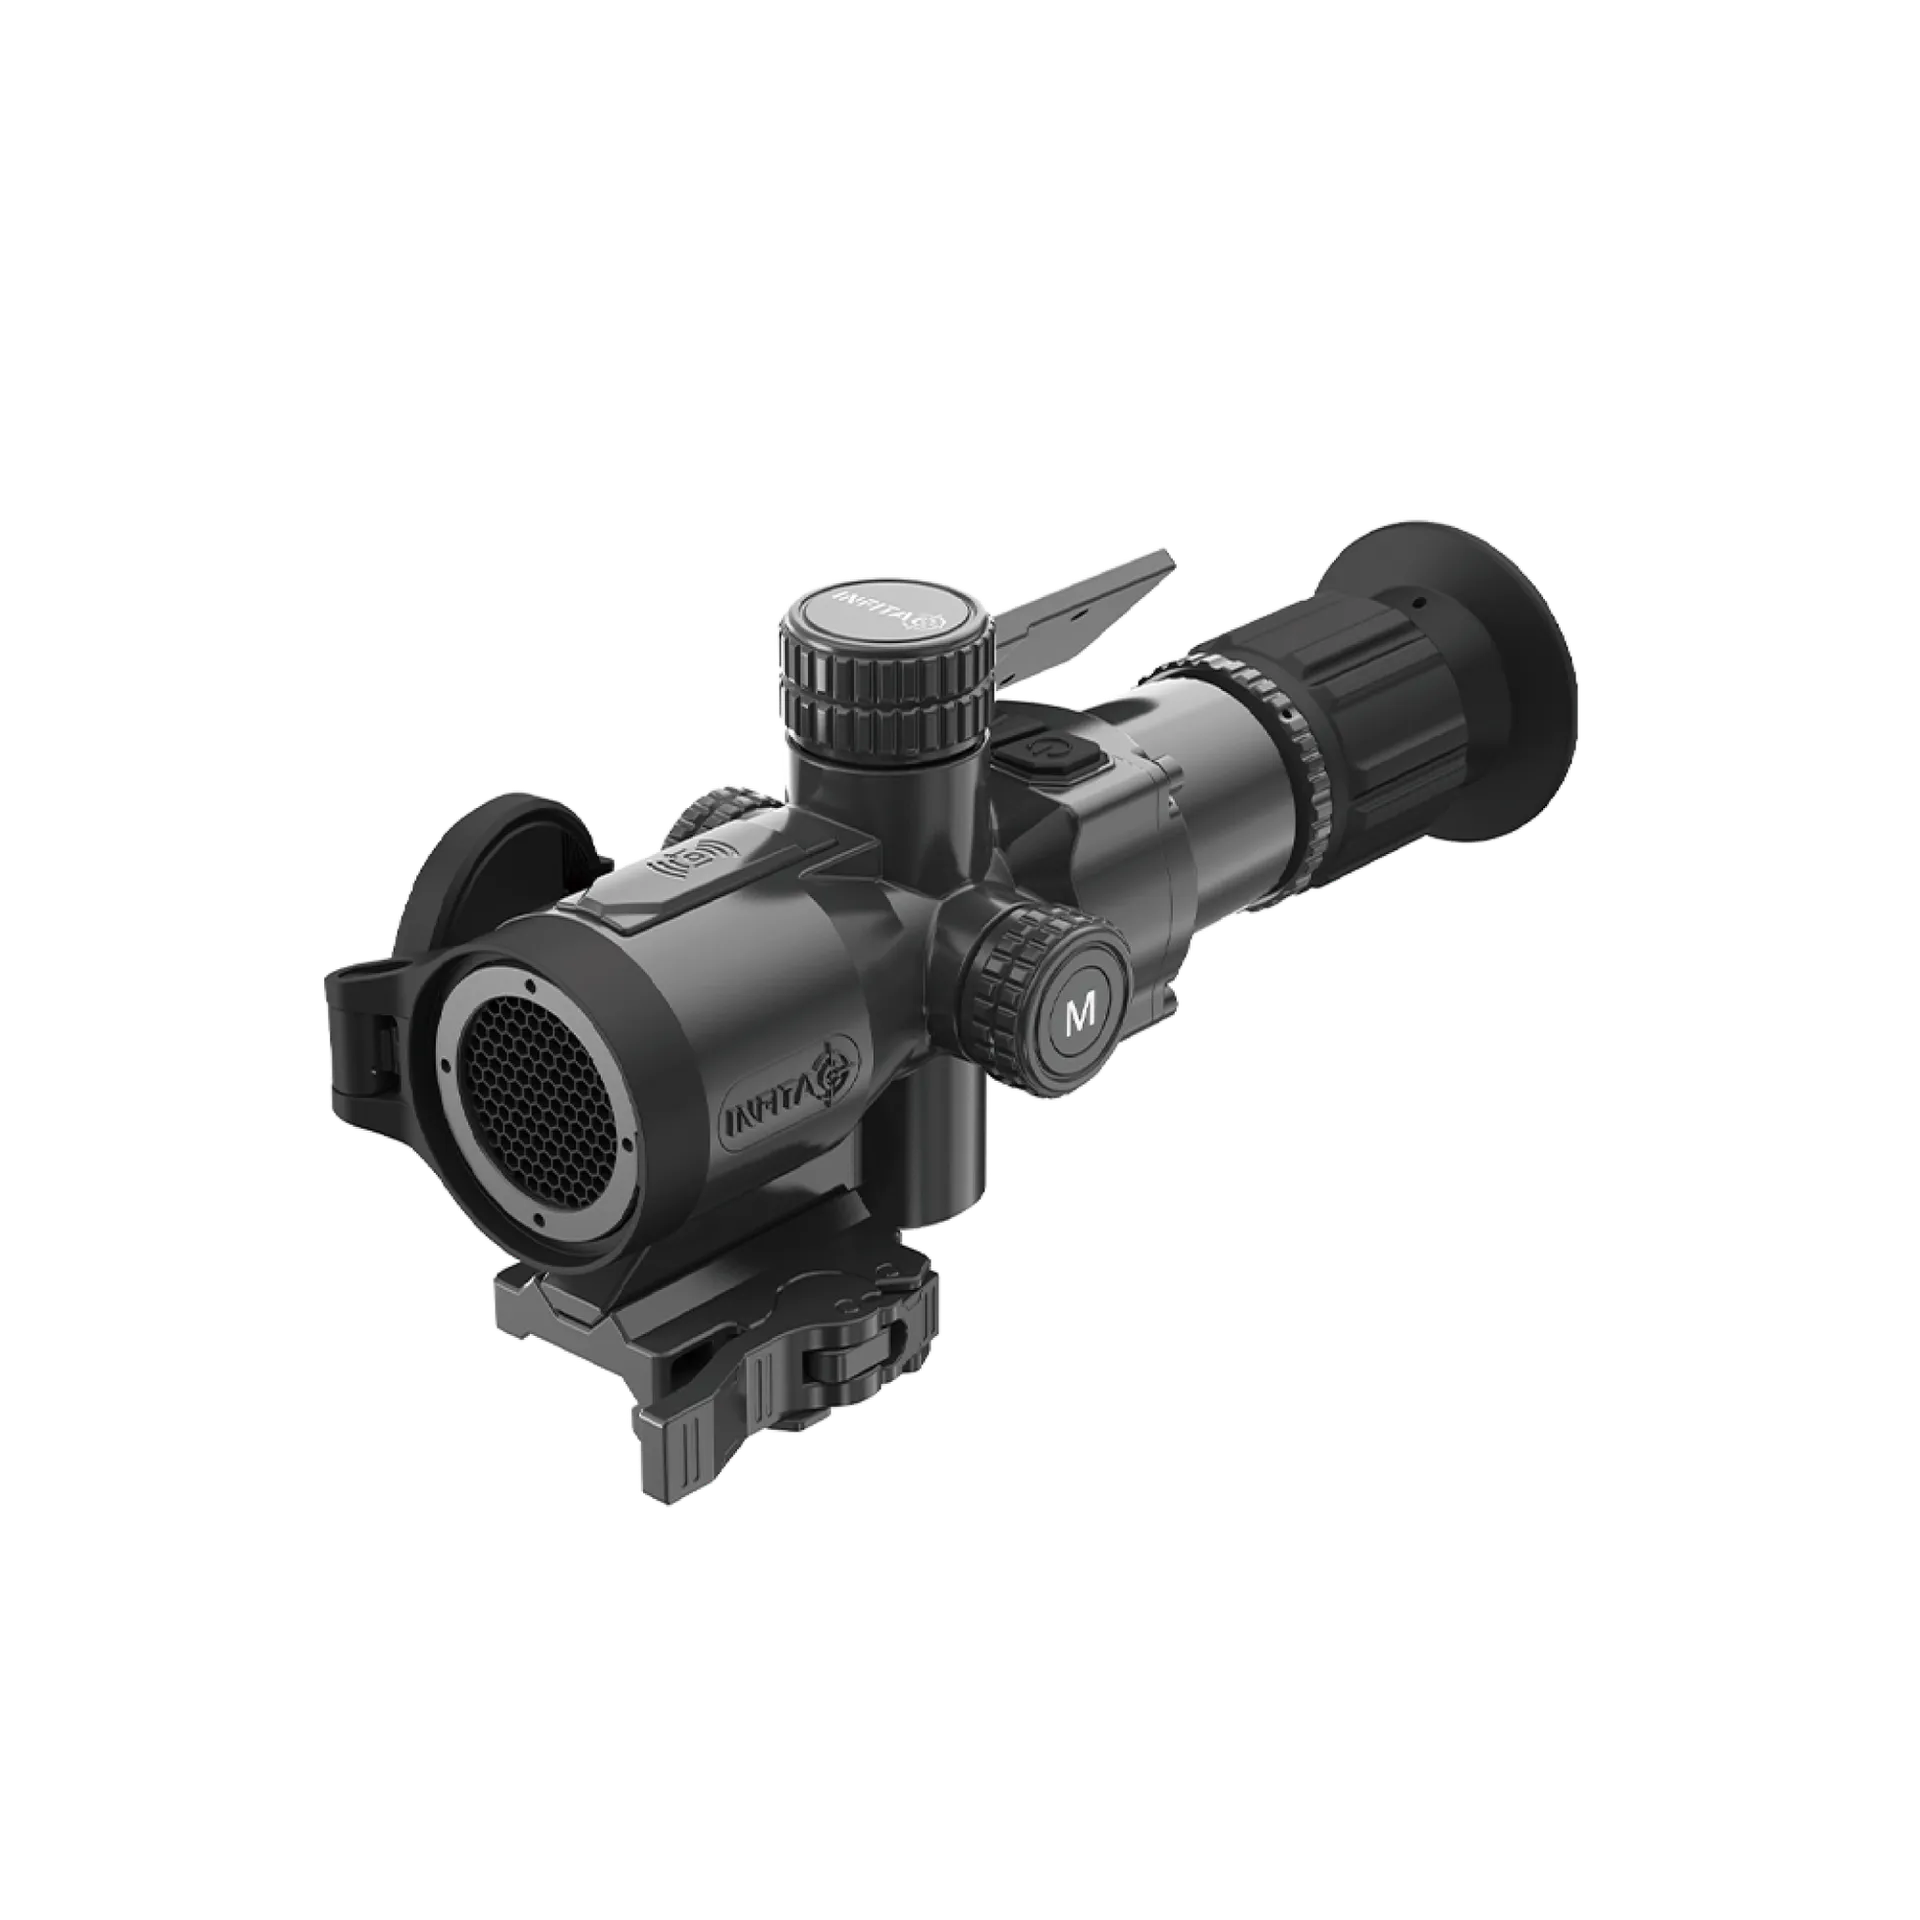
You can compare current products or explore the INFITAC lineup. AnyTime Optics also holds an FFL Class 7 license for customized firearms services, subject to applicable laws, regulations, and individual requirements. You should contact the company directly for current details rather than relying on a general article.
Pre-Season LRF Practice Checklist
Before heading into open country, you may want to work through this checklist:
- Confirm the optic is mounted securely and the rifle is unloaded during setup checks
- Learn the LRF activation button and display in daylight and low light
- Practice ranging large, nearby objects before moving to smaller targets
- Compare repeated readings on grass, trees, fence posts, and distant terrain
- Confirm whether the unit displays line-of-sight or angle-compensated distance
- Enter and verify your rifle, ammunition, sight-height, and zero information
- Confirm your zero and dope with the actual rifle and ammunition
- Test thermal, night vision, and fused viewing modes if available
- Check batteries, charging equipment, lens covers, and cold-weather spares
- Review local hunting, firearm, thermal, night vision, and laser-device rules
- Practice positive identification and safe backstop assessment every time
Final Thoughts
A laser rangefinder scope can simplify the sequence from observing a target to understanding its distance, especially when you are hunting open fields, pastures, clear-cuts, or agricultural land during fall and winter’s changing light.
Generally speaking, the best results come from combining stable technique, repeated readings, verified ballistic data, a confirmed zero, and realistic expectations about weather and vegetation. Whether you choose an integrated ThermNight system, a rangefinder-equipped HYDRA, an INFITAC compact thermal scope, a night vision scope, or a separate handheld rangefinder, the equipment should fit your rifle, conditions, budget, and responsibilities.
This article remains only a general and high-level explanation and should not be relied upon as legal advice or as a substitute for professional counsel, manufacturer instructions, qualified firearms training, or current local regulations. You should seek professional legal counsel for legal questions and make your own informed decisions for your specific circumstances, and much, much more.